How To Remove Gel Nails At Home
Gel nails are a type of artificial nail enhancement that are made by applying a gel-based substance onto the natural nails. This gel is then cured or hardened under an ultraviolet (UV) lamp or LED light, resulting in a hard, durable, and glossy finish.
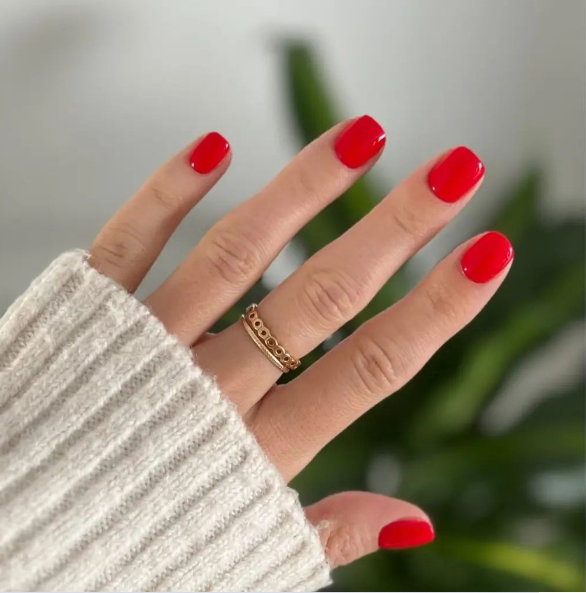
Gel nails are popular for their long-lasting and chip-resistant properties, as well as their ability to maintain a glossy finish for weeks. They can also be customized with different colors, designs, and even 3D effects.
Gel nails are typically applied in a salon setting by a licensed nail technician, although there are also at-home kits available for those who prefer to do it themselves. It is important to note that improper application or removal of gel nails can damage the natural nails, so it’s recommended to seek professional assistance.
Types of Gel Nails
There are several types of gel nails available, including:
Hard Gel Nails: This type of gel nail is thicker and more durable than other types, making it a popular choice for those who have weak or brittle nails. Hard gel is also ideal for those who prefer a more natural-looking finish.
Soft Gel Nails: Soft gel nails are more flexible and lightweight than hard gel nails, making them a popular choice for those who prefer a more natural feel. Soft gel nails are also ideal for those who have thin or weak nails, as they provide a bit of extra support.
Soak-off Gel Nails: This type of gel nail is designed to be easily removed by soaking the nails in acetone. Soak-off gel nails are popular for their convenience and ease of removal, but they may not be as durable as other types of gel nails.
Builder Gel Nails: Builder gel nails are used to create a thicker, more structured base for the nail. This type of gel nail is ideal for those who want to add length or shape to their natural nails.
Color Gel Nails: Color gel nails are simply gel nails that are tinted with color. They are available in a wide range of shades and can be used to create a variety of looks and designs.
Overall, the type of gel nail that is best for you will depend on your individual needs and preferences. It’s always a good idea to consult with a licensed nail technician to determine the best type of gel nail for your nails and lifestyle.
Removing Gel Nails
Removing gel nails at home is a relatively simple process that requires some time and patience. Here’s a step-by-step outline of how you can safely soak off gel nails at home:
Step 1: Gather Your Supplies You will need the following supplies:
-
Acetone: You can find pure acetone at most drugstores or beauty supply stores. Acetone is a strong solvent that effectively breaks down the gel nail polish.
-
Aluminum foil: Cut aluminum foil into small squares, large enough to wrap around each nail.
-
Cotton balls or pads: You’ll need these to saturate with acetone and place on your nails.
-
Cuticle pusher or orange stick: This will be used to gently push and remove the softened gel polish.
-
Nail file and buffer: You may need these to lightly file and buff your nails after soaking off the gel polish.
Step 2: Prep Your Nails Using a nail file, gently file the top layer of the gel polish to break the seal and create rough edges. Be careful not to file down to your natural nails or damage your nails.
Step 3: Soak Your Nails Soak a cotton ball or pad in acetone and place it on your nail. Wrap the nail with a small piece of aluminum foil to hold the cotton ball in place. Repeat this process for all your nails.
Step 4: Wait and Relax Let your nails soak in the acetone for about 10-15 minutes. You can use this time to relax and do other activities.
Step 5: Remove Gel Polish After 10-15 minutes, gently press down on the foil-wrapped nail and twist it to help loosen the softened gel polish. Use a cuticle pusher or an orange stick to gently scrape off the gel polish, starting from the base of your nails. Be gentle and avoid using excessive force to prevent damage to your natural nails.
Step 6: Clean and Nourish Your Nails Once you have removed all the gel polish, use a nail buffer to lightly buff your nails to smooth out any rough edges. You can also use a cuticle oil or a nourishing nail treatment to moisturize and nourish your nails after the acetone soak.
Step 7: Rinse and Moisturize Wash your hands with mild soap and water to remove any remaining acetone residue. Apply a rich hand cream or cuticle oil to moisturize your nails and cuticles, as acetone can be drying to the skin and nails.
And that’s it! Following these steps, you should be able to safely and effectively soak off gel nails at home. However, if you encounter any difficulties or have concerns, it’s always best to seek advice from a professional nail technician for proper guidance.
