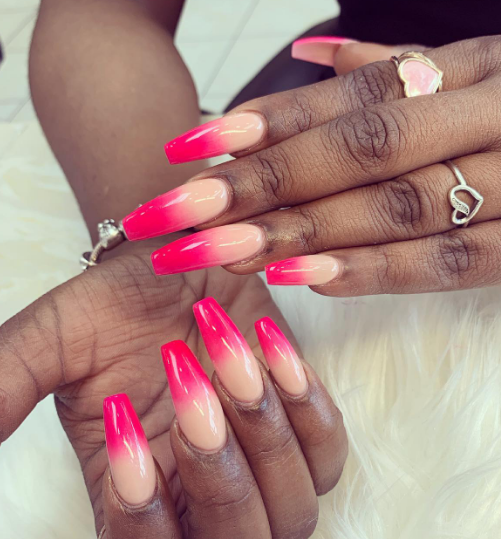
50+ Ombre Nails Ideas
Ombre nails have been a popular trend in the nail art world for several years now. Ombre, which means “shaded” in French, refers to the gradual blending of one color into another. Ombre nails take this concept and apply it to the nails, creating a seamless gradient effect that can range from subtle to bold. In this article, we will explore everything you need to know about ombre nails, from the basics to more advanced techniques.
Basic Ombre Nails Technique:
To achieve a basic ombre effect on your nails, you will need the following materials:
- Two or more nail polish colors
- A makeup sponge
- Nail polish remover
- A small brush or q-tip
Step 1: Start by applying a base coat to your nails. This will help protect your nails and create a smooth surface for your ombre.
Step 2: Apply a base color to your nails. This color will serve as the starting point for your ombre. Let the polish dry completely before moving on to the next step.
Step 3: Take your makeup sponge and paint your two (or more) chosen colors side by side onto it. Then, gently dab the sponge onto your nail, starting at the tip and moving upwards. Repeat this step until you achieve the desired ombre effect.
Step 4: Use a small brush or q-tip dipped in nail polish remover to clean up any excess polish around your cuticles.
Step 5: Let your nails dry completely, and then finish with a top coat to seal in your design.
Overall, there are many different types of ombre nails to choose from, and with a little practice and experimentation, you can create a unique and personalized ombre nail design.
Types of Ombre Nails:
There are several types of ombre nails that you can try, each with its own unique twist on the classic ombre effect. Here are some of the most popular types of ombre nails:
-
Linear Gradient Ombre Nails
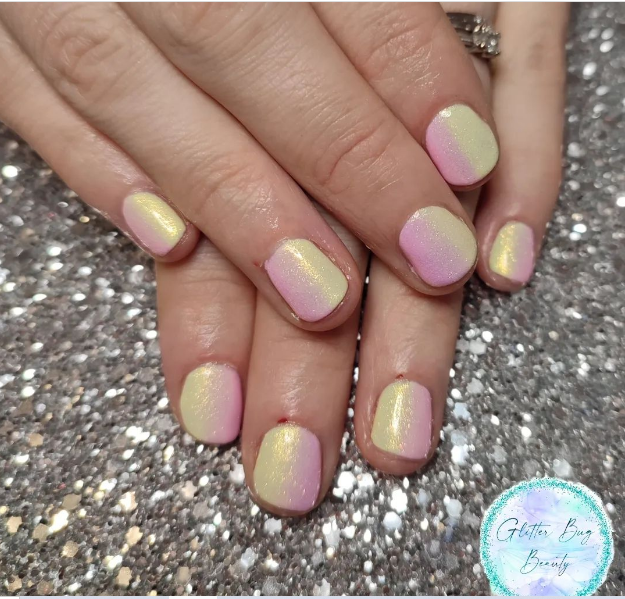
Gradient ombre nails use several shades of the same color to create a soft gradient effect. This technique is perfect for those who want a subtle ombre look.Instead of blending two colors together, gradient ombre nails use several shades of the same color to create a gradient effect. This technique is perfect for those who want a subtle ombre look.
-
Center Gradient Ombre Nails
To achieve gradient ombre nails, start by painting your nails with your base color. Then, take your chosen gradient colors and paint them onto a makeup sponge in the order you want them to appear on your nails. Dab the sponge onto your nail, starting at the tip and working upwards, until you achieve the desired effect. Repeat this process for each nail.
-
Reverse Ombre Nails
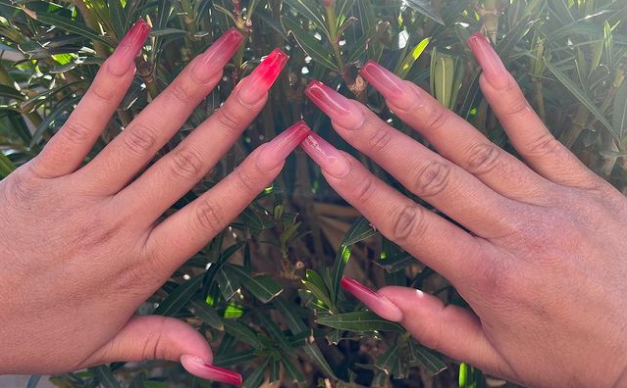
Reverse ombre nails use a darker color at the tips of the nails, gradually fading to a lighter color towards the base of the nails. This technique is a fun twist on the classic ombre look.
Reverse ombre nails are the opposite of a regular ombre. Instead of blending light to dark, you blend dark to light. To achieve this look, start with a dark base color and then use a makeup sponge to dab on a lighter color towards the tips of your nails. Repeat this process until you achieve the desired effect.
-
Glitter Ombre Nails
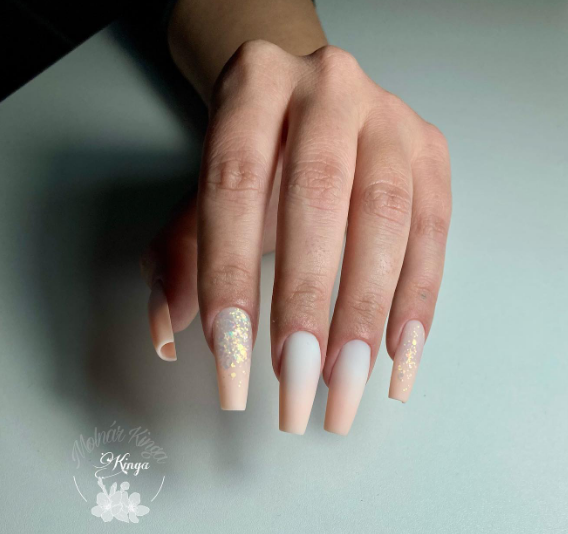
Glitter ombre nails add a touch of sparkle to the ombre design. To achieve this look, you can add glitter to the tips of the nails or blend glitter into the ombre colors.Glitter ombre nails add a touch of sparkle to your ombre design. To achieve this look, start by applying your base color to your nails. Then, paint a glitter polish onto a makeup sponge and dab it onto your nails, starting at the tip and working upwards. Repeat this process until you achieve the desired glitter effect.
-
Dual-Tone Ombre Nails
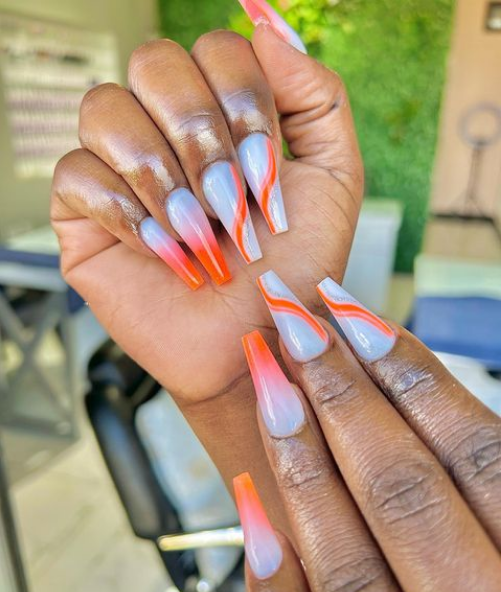
Dual-tone ombre nails use two colors that complement each other to create a bold and eye-catching look. The colors can be blended together or separated by a clean line in the middle of the nail.
-
French Ombre Nails
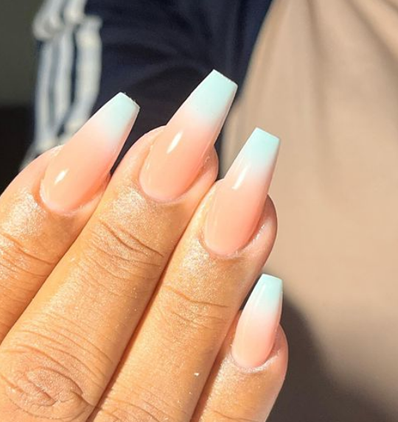
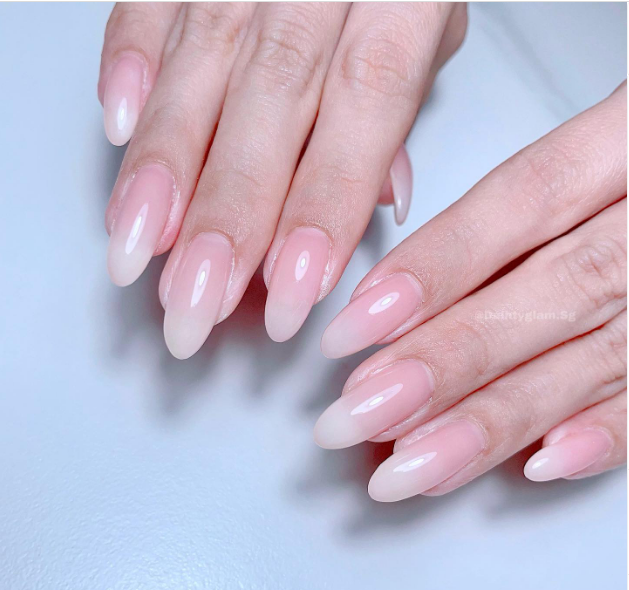
French ombre nails use a white or nude color at the tips of the nails, gradually blending into a natural-looking color towards the base of the nails. This technique is a modern twist on the classic French manicure.
-
Geometric Ombre Nails
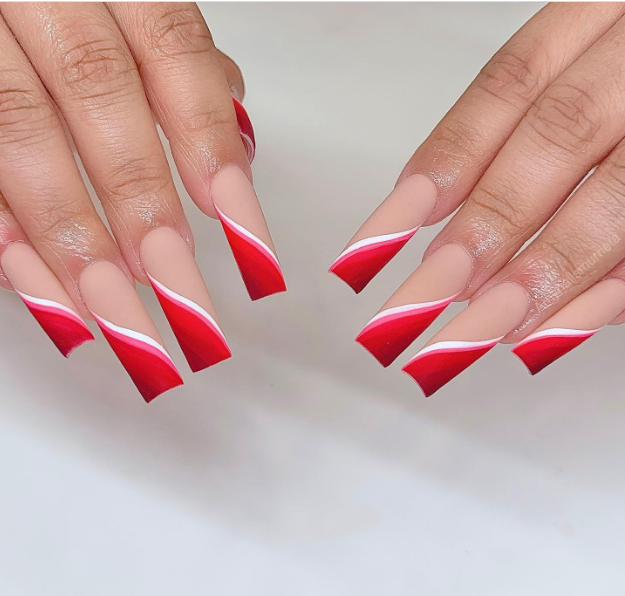
Geometric ombre nails use different shapes and angles to create a unique ombre design. This technique is perfect for those who want to experiment with different shapes and patterns. -
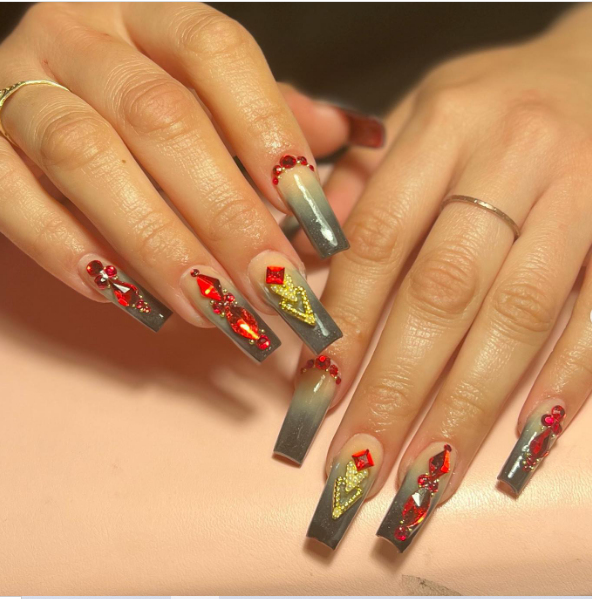
Black Tips Ombre Nails with Heart Design
-
Beautiful French Ombre Nails Oval Shape
-
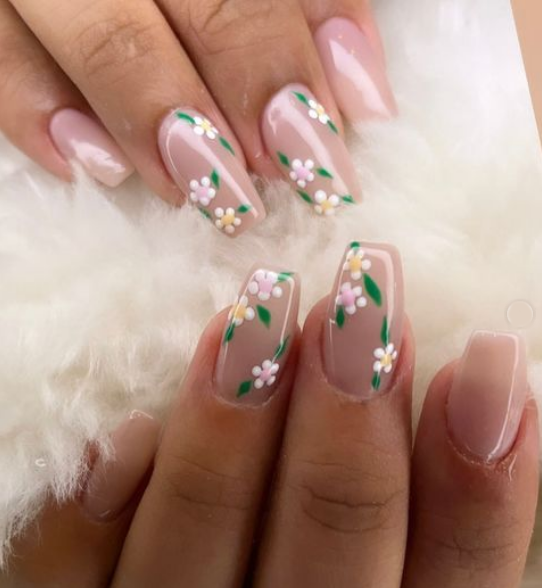
Beautiful French Ombre Nails with Flowers
-
Beautiful French Ombre Nails with Glitters

-
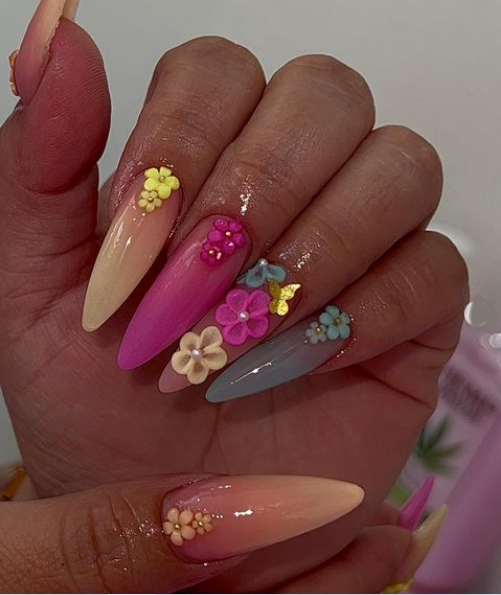
Beautiful Ombre nails with Flowers
-
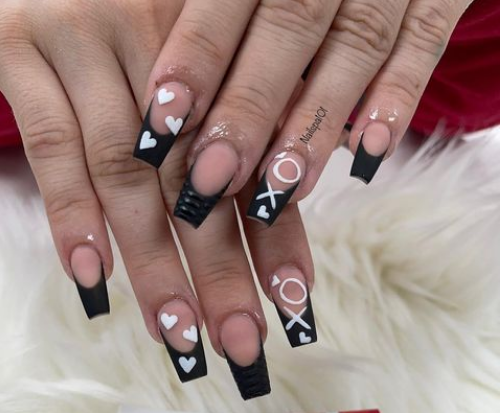
Black Tips Ombre Nails with Heart Design
-
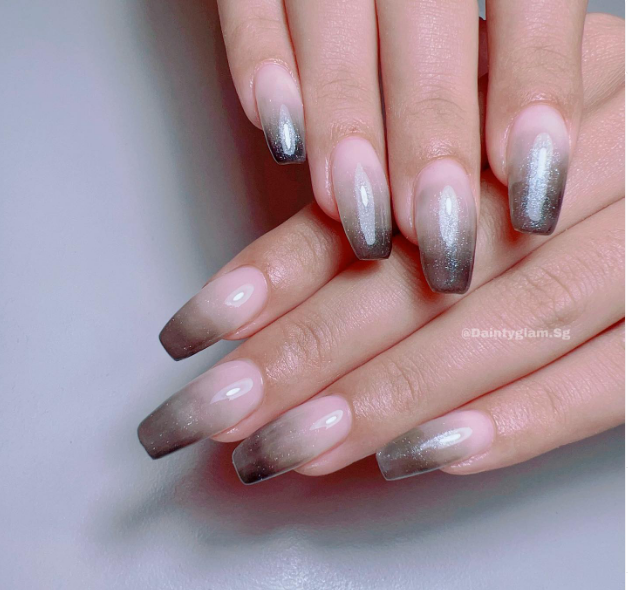
Black Tips Ombre Nails
-
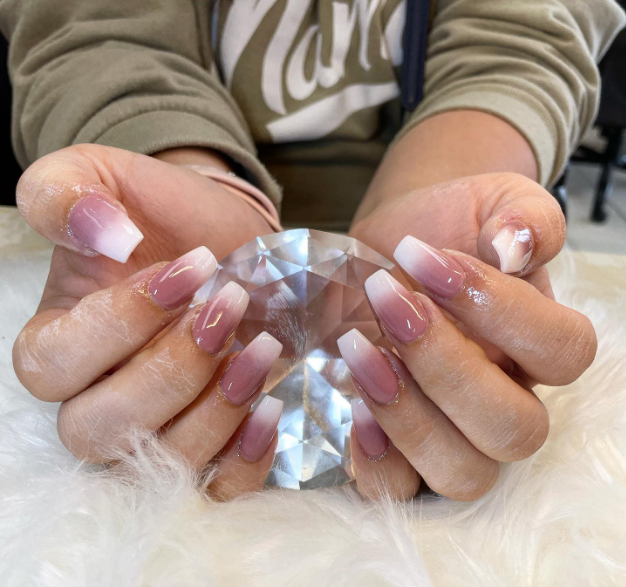
Brown and White Ombre tips nails
-
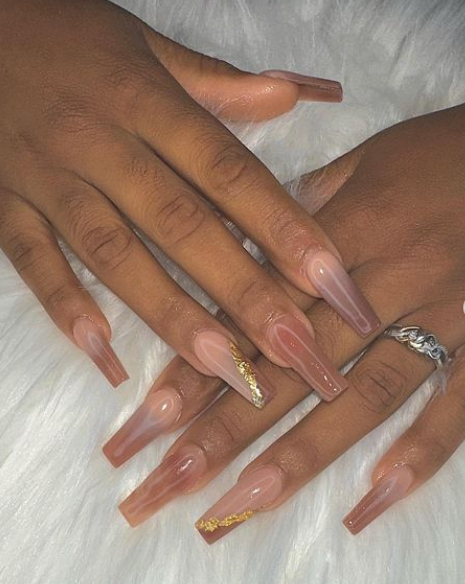
Brown Tips Ombre Nails
-
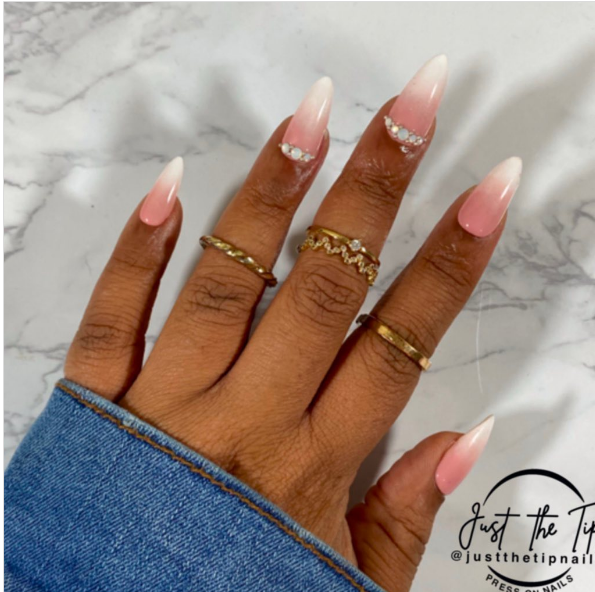
Coffin Shape Ombre French Tips
-
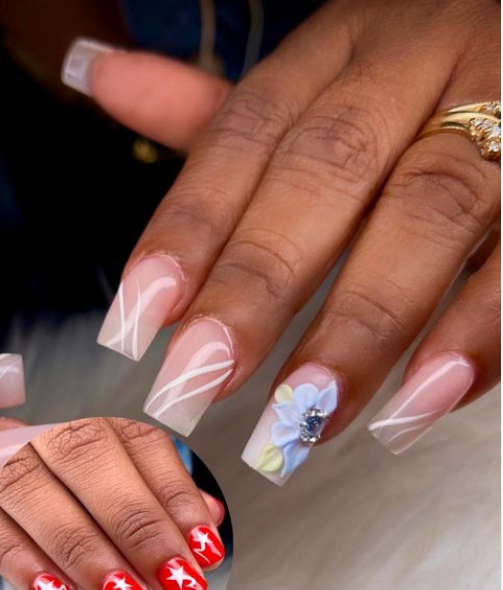
Fancy Design Ombre Nails
-
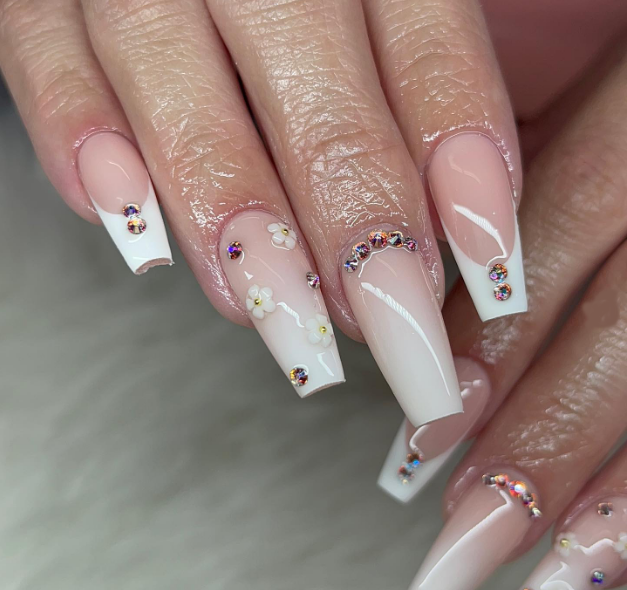
French Ombre Nails with Glitters and Flowers
-
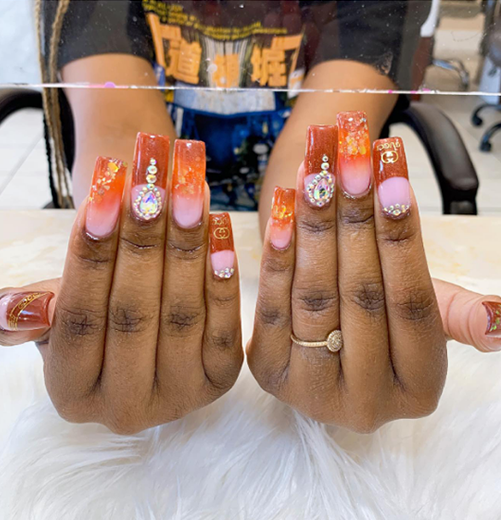
Gel nails with Orange tips
-
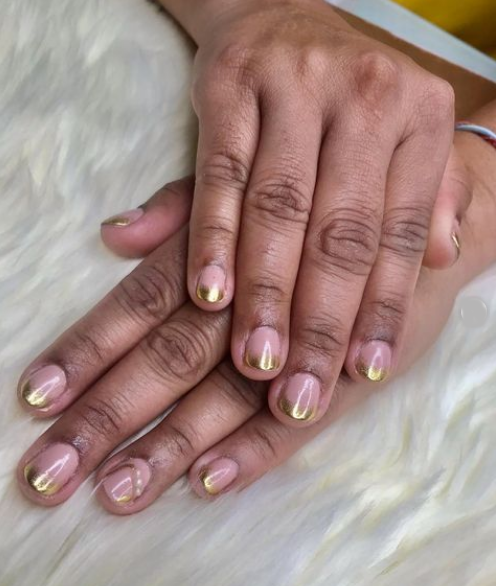
Gold Tips Ombre Nails
-
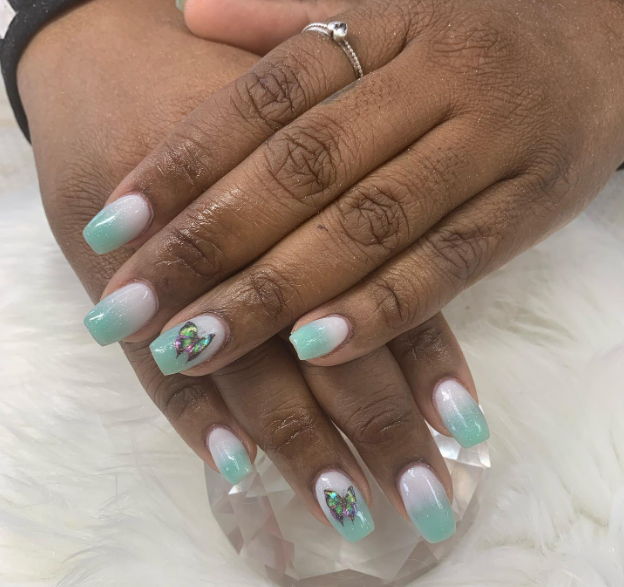
Green and White Ombre Nails with glitters
-
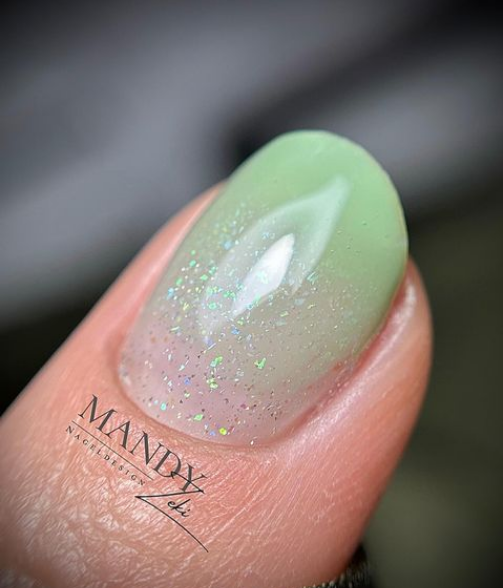
Green Tips Ombre Nails
-
Long Ombre nails pink tips

-
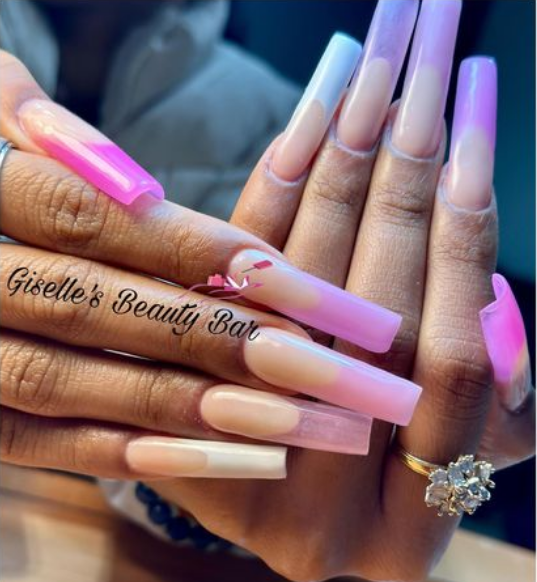
Long Pink Tips French Ombre Nails
-
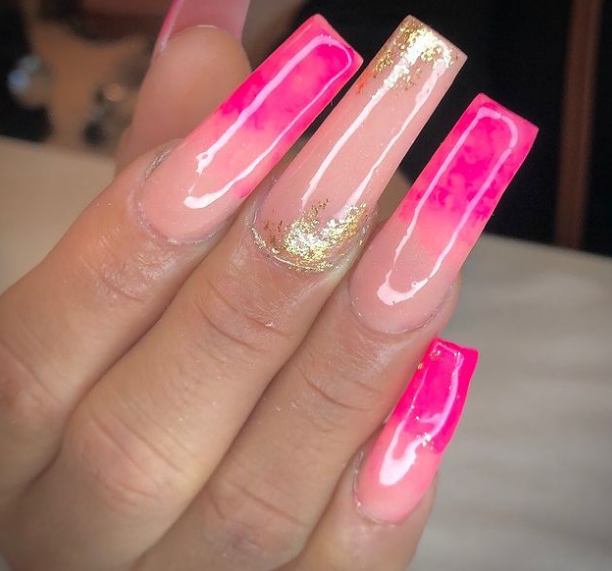
Long Square Tips Gel Ombre Nails
-
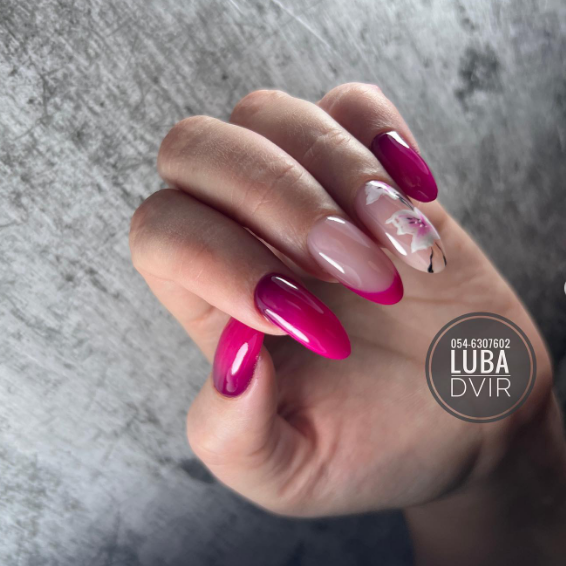
Maroon Ombre Nails
-
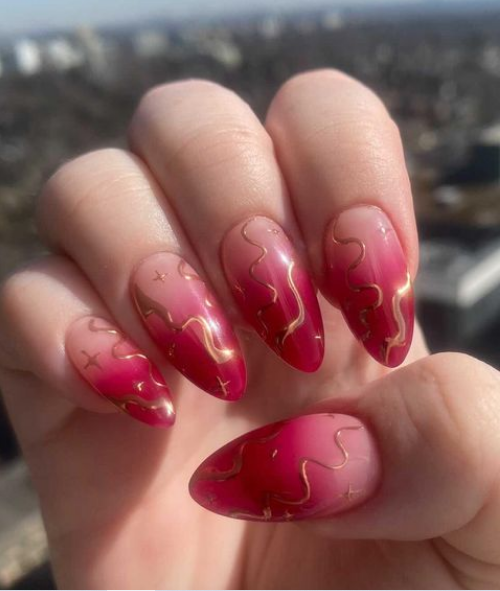
Maroon Tips Ombre Nails with Gold
-
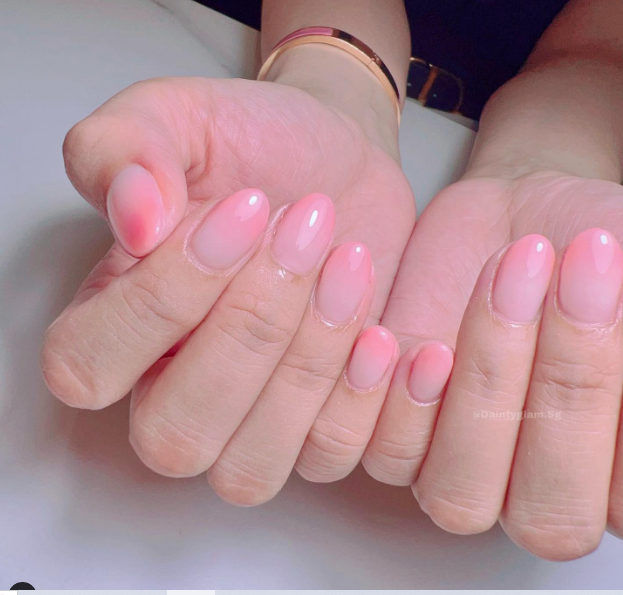
Beautiful Pink tips ombre nails
-
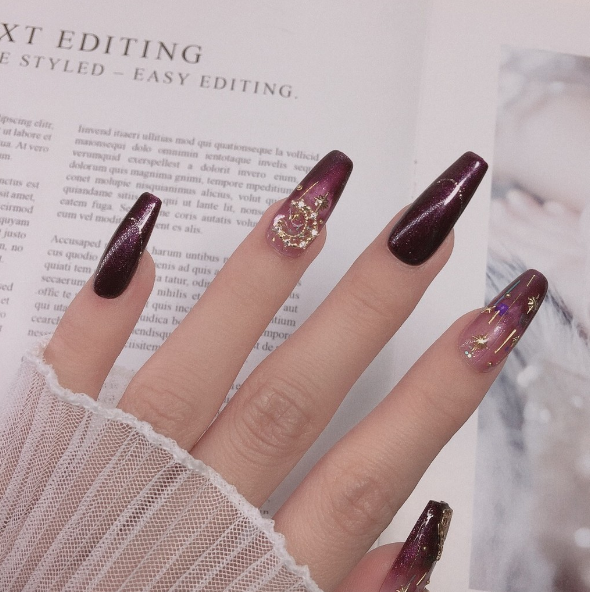
Maroon Tips with Gold Details Ombre Nails
-
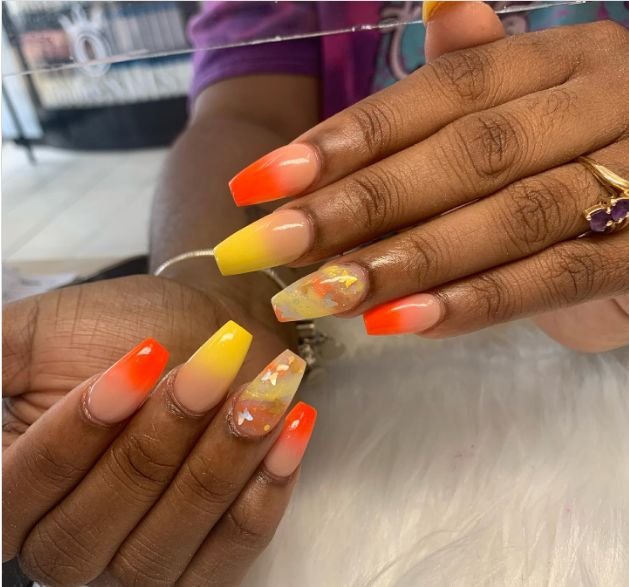
Orange and Yellow Tips Gel Nails
-
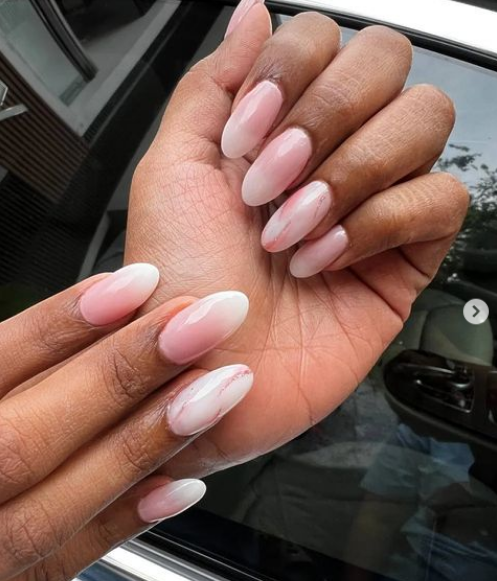
Oval French Ombre Nails
-
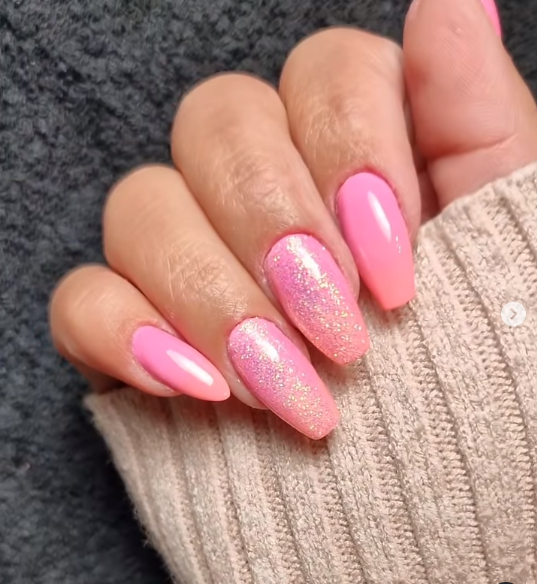
Pink and Orange Ombre Nails with Glitters
-
Pink and Orange Ombre Nails
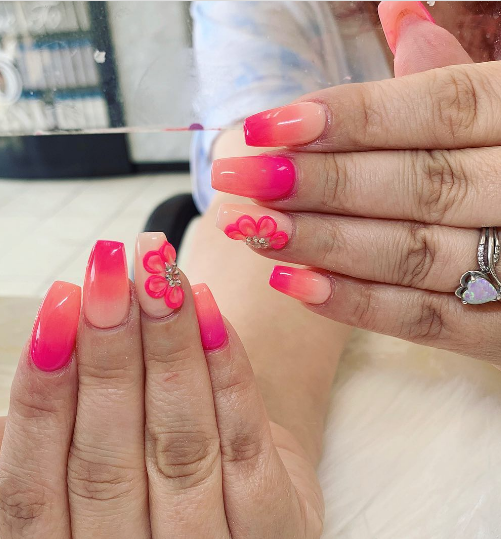
-
Pink and Purple Ombre Coffin Shape Nails
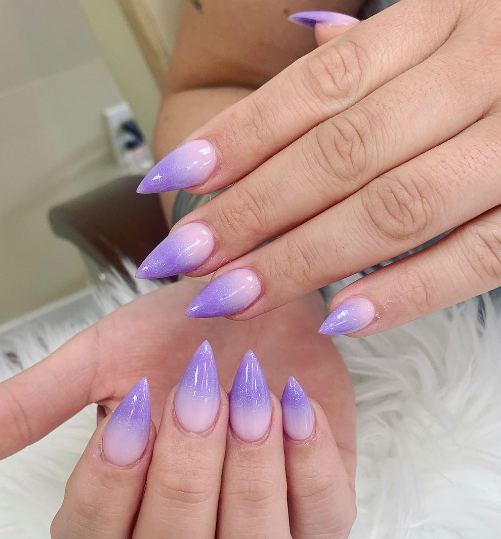
-
Pink Pattern Omber Nail Design
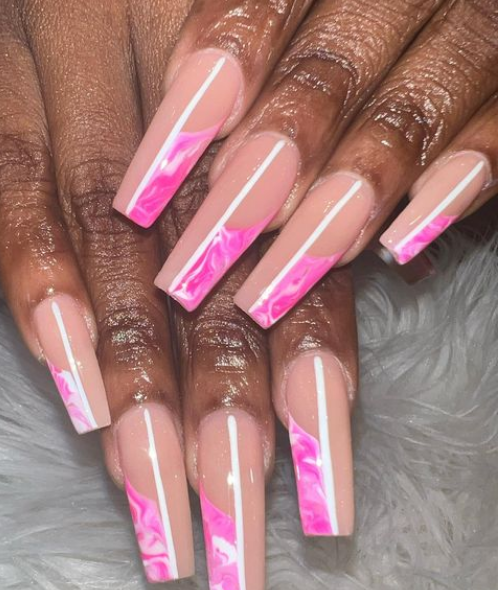
-
Pink tips Blue Ombre Nails
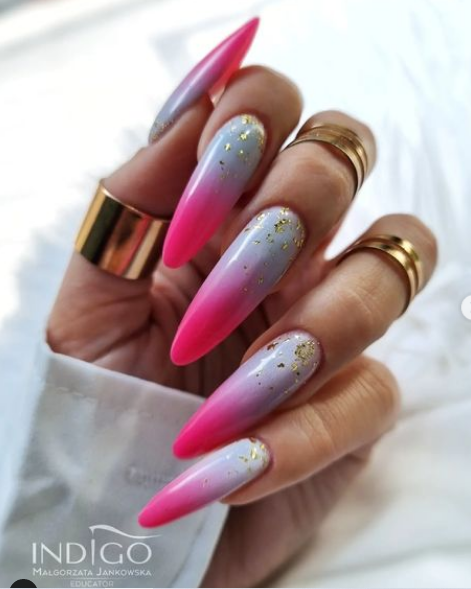
-
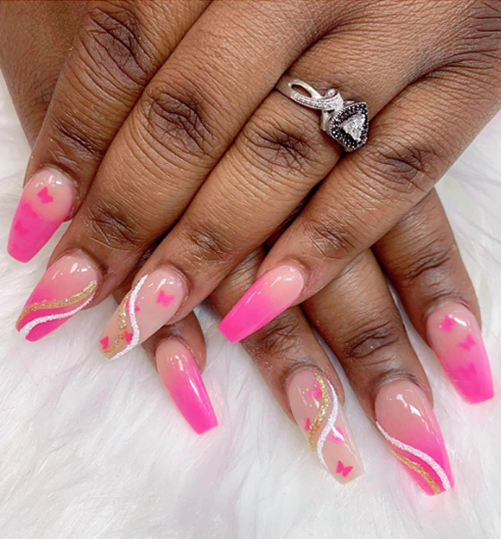
Pink tips ombre nails
-
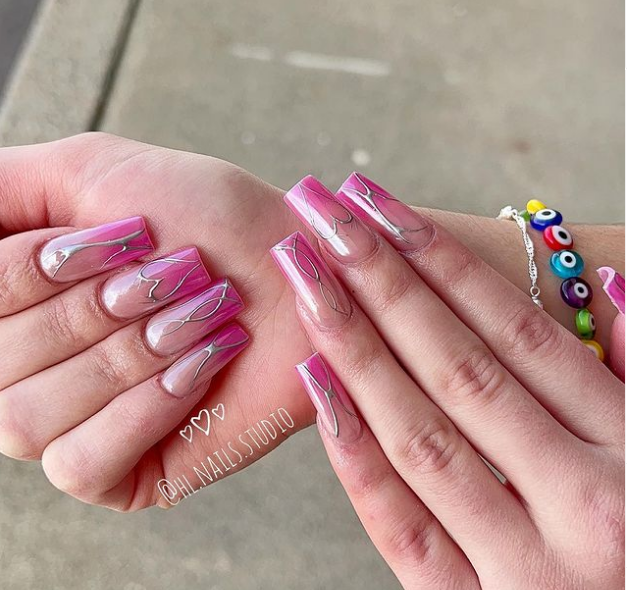
Pink Tips with Silver Design Ombre Nails
-
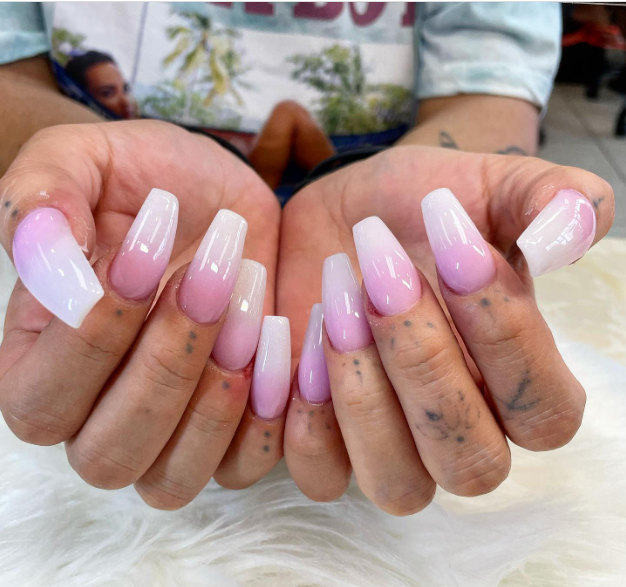
Pink and White Ombre tips nails
-
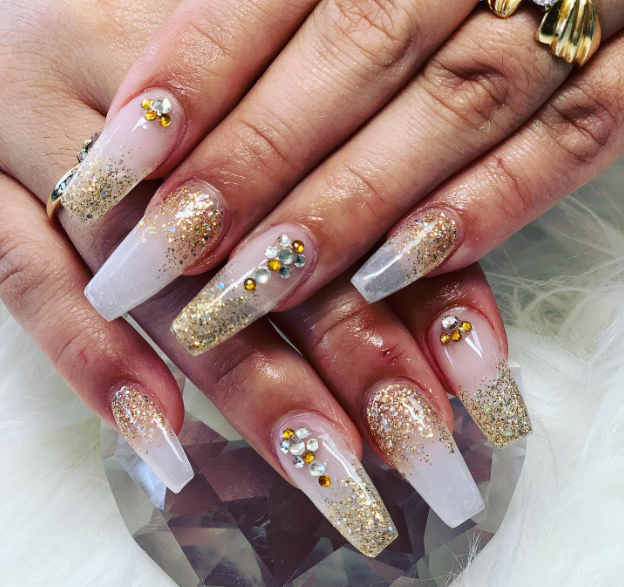
Plain Ombre Nails with Glitters
-
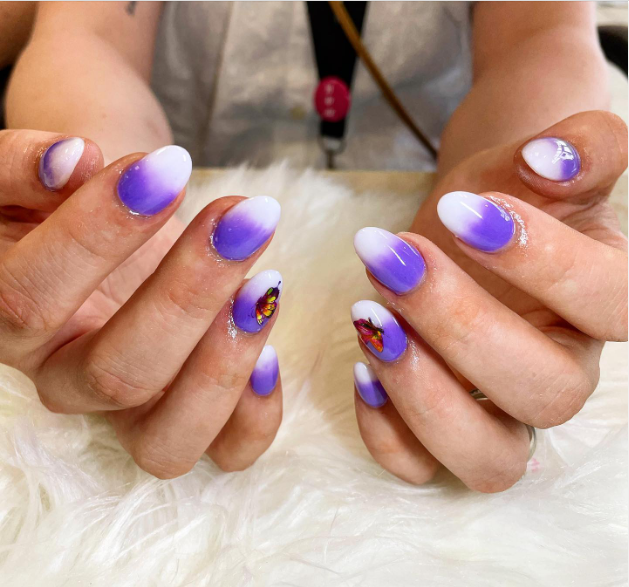
Purple and Blue Tips Ombre Nails
-
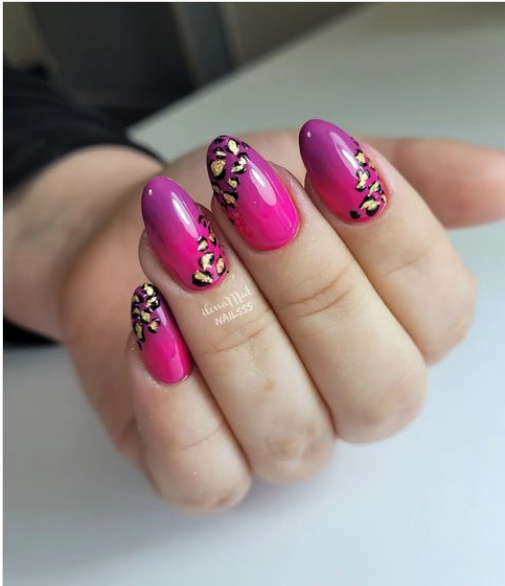
Purple and Pink Ombre Nails
-
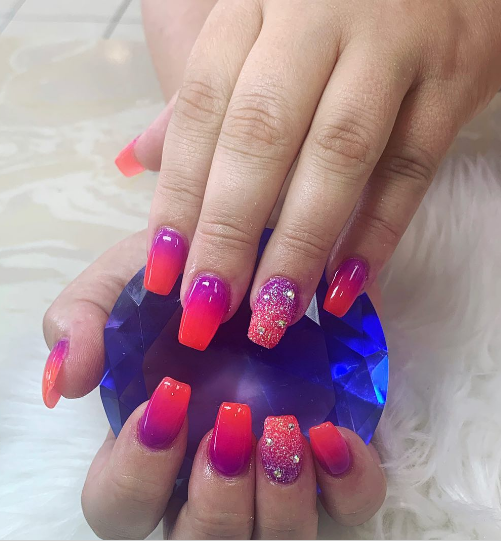
Purple and Red Ombre Nails with Glitter
-
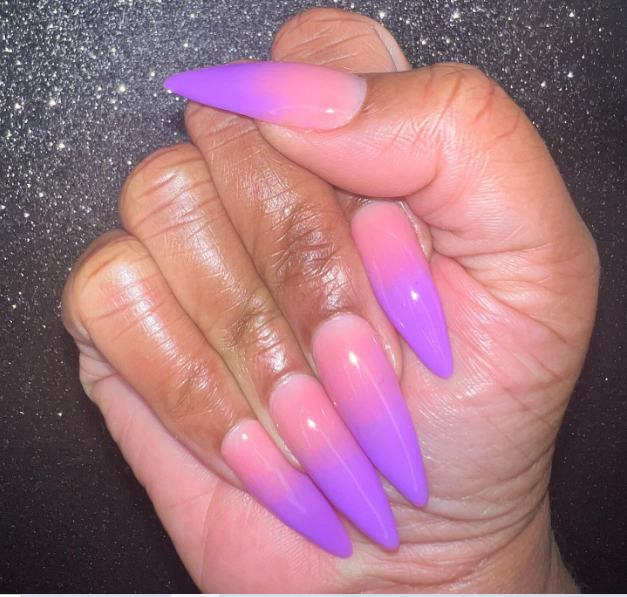
Purple Tips Ombre Nails
-
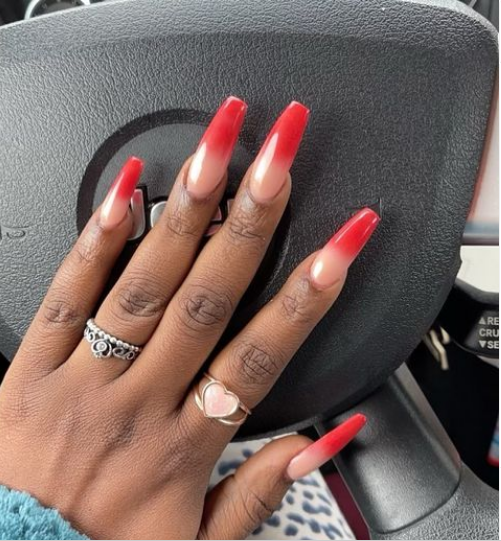
Red Tips Ombre Nails
-
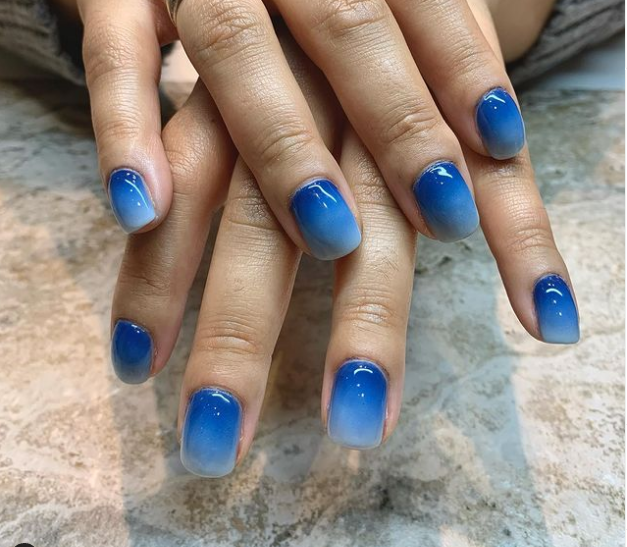
Short Blue Ombre Nails
-
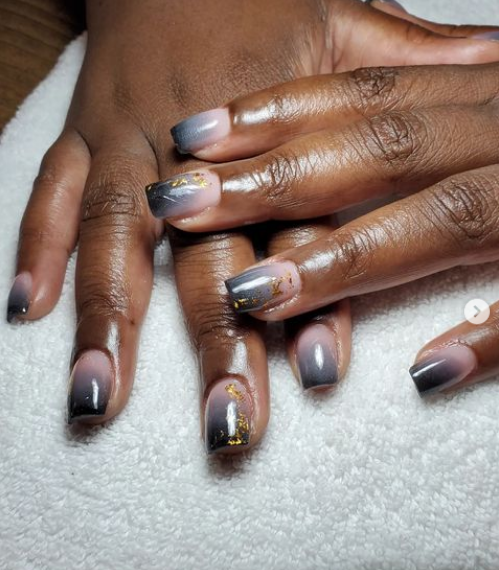
Short Ombre Nails Black Tips
-
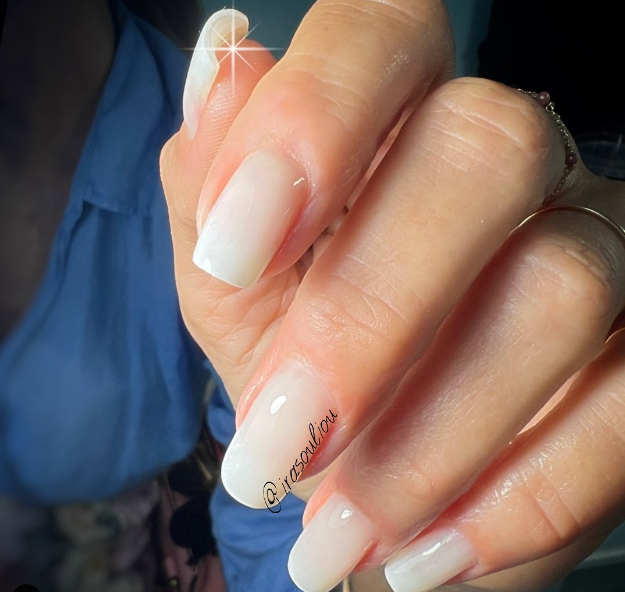
Short Plain Ombre Nails
-
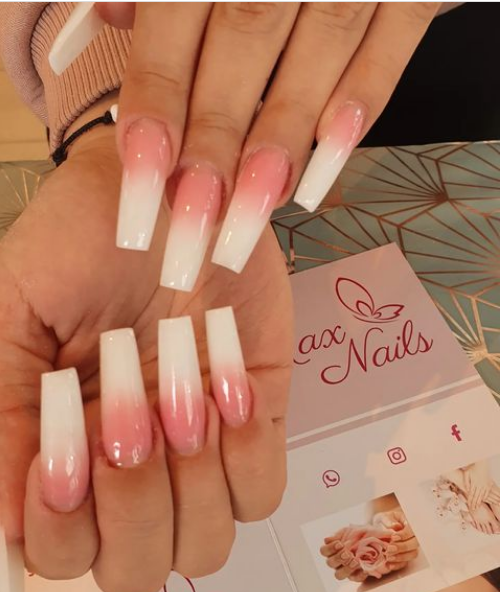
Square Tips Long French Ombre Nails
-
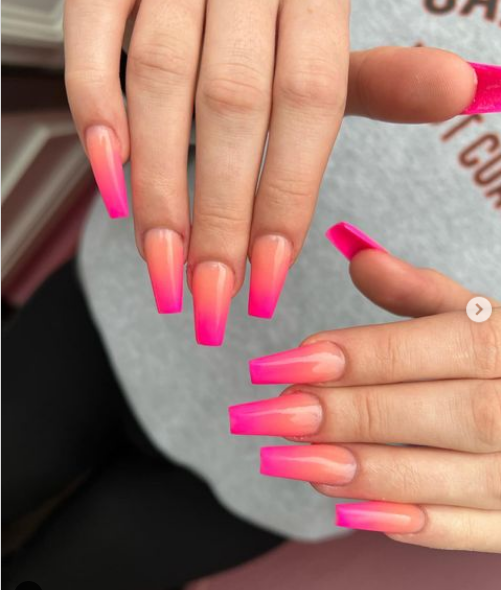
Square Tips Pink and Orange Ombre Nails
-
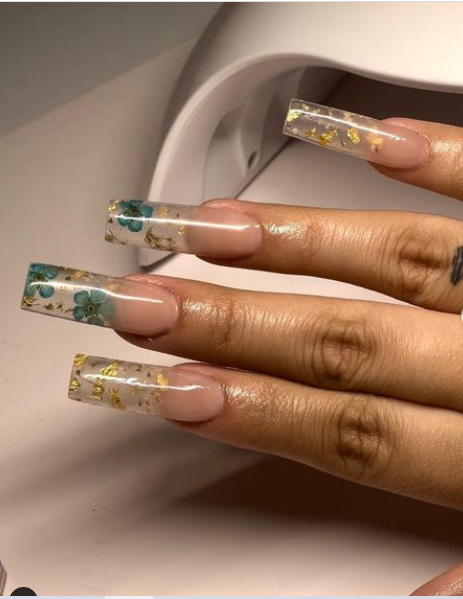
Transparent Ombre Nails
-
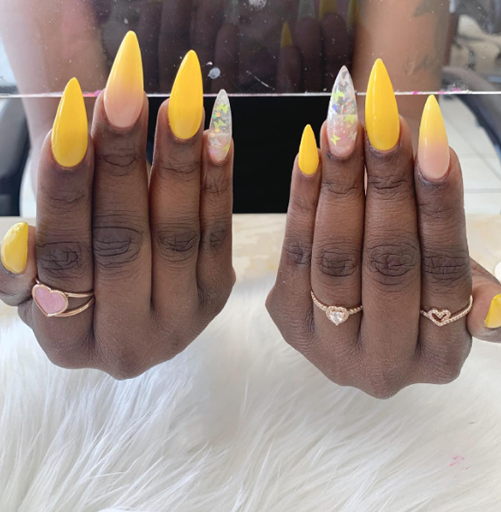
Yellow and White Ombre coffin shape Nails with glitters
-
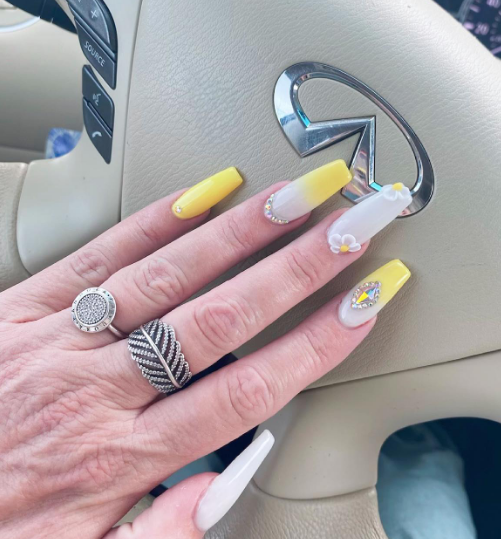
Yellow and White Ombre Nails with glitters
-
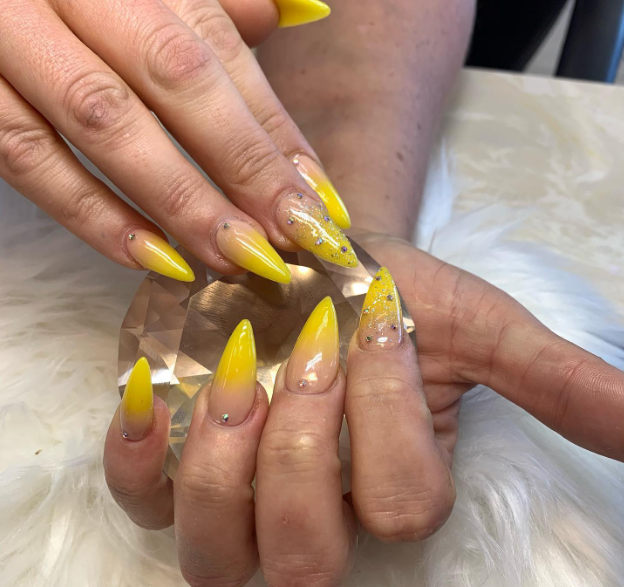
Yellow Ombre Nails with Glitters
In conclusion, ombre nails are a fun and versatile way to add some color and creativity to your look. Whether you choose a basic or advanced technique, the possibilities are endless. With a little practice and experimentation, you can create stunning ombre designs that are sure to turn heads.
